
Before 3D took the gaming world by storm, many RPGs used a pseudo-3D engine in which you could move in discrete steps within a grid, with a first person view. Although this was popularised by “blobbers” such as Dungeon Master and Eye of the Beholder, it goes at least as far back as 1979 with Akalabeth.
“Blobber: A slang term for party-based games with first-person view, such as Wizardry, Dungeon Master and Legend of Grimrock, where the entire party moves as one, as if it was an amorphous blob.”
— The CRPG Book, page 522
Unity3D gives us everything we need to easily set up this first-person grid-based movement.
This article is based on Unity3D 2020.3.13f1 (LTS), and the source code is available in the Unity3dFirstPersonGridMovement folder of the Gigi Labs Bitbucket Repository.
Setting the Scene
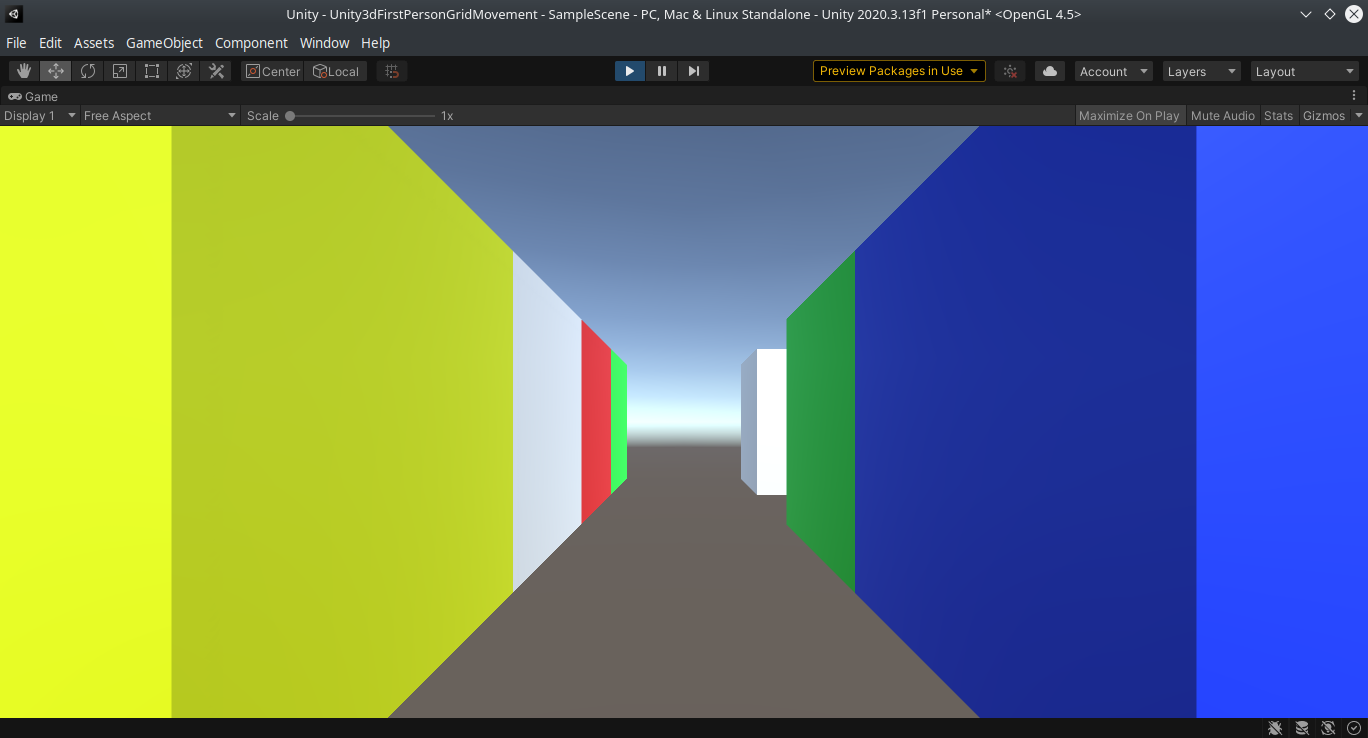
First, create a new 3D project. Add a few Cubes to the scene so that we’ll have something to see as we move around. You can do this via GameObject menu -> 3D Object -> Cube, although after creating the first one, you can select it and press Ctrl+D to duplicate it. Set their X and Z positions to integer values, leaving their Y position set to zero. Since the Main Camera faces down the Z-axis, it’s also nice to not set X=0 for any cubes, so that we have a corridor that we can immediately walk down.

Optionally, add a few different-coloured materials and apply them to the cubes. This will later help make the movement more obvious, rather than just having a long, solid white wall. Refer to “Simple Brick Wall with Unity3D” if you don’t know how to do this.

Finally, adjust the camera so that its Y-position is zero, aligning it with the cubes.
Implementing Movement
In my old article “Unity3D: Moving an Object with Keyboard Input“, I showed how Input.GetKeyDown() can be used to move an object when a key is pressed. We can use the same thing to move and rotate the camera.
Create a script called “Movement”, and drag it onto your Main Camera. Double-click the script to open it in an editor.
In the Update() method, add the following to enable the typical WASD keyboard movement (‘W’ to go forwards, ‘S’ to go backwards, ‘A’ to move left, and ‘D’ to move right, all while facing down the Z-axis):
    void Update()
    {
        if (Input.GetKeyDown(KeyCode.W))
            this.transform.position += Vector3.forward;
        else if (Input.GetKeyDown(KeyCode.S))
            this.transform.position += Vector3.back;
        else if (Input.GetKeyDown(KeyCode.A))
            this.transform.position += Vector3.left;
        else if (Input.GetKeyDown(KeyCode.D))
            this.transform.position += Vector3.right;
    }
If you press Play, you can use the WASD keys to move around:
Implementing Rotation
That was easy enough! The fact that the camera is conveniently aligned with the Z-axis allows us to use predefined vectors to move in specific directions. However, this is no longer the case once we allow rotation. Any movement must be done with respect to whatever direction the camera is currently facing.
Fortunately, we already know what direction the camera is facing. That’s its transform.rotation. We can change direction by multiplying it by a Quaternion, which we can conveniently create based on an angle in degrees using Quaternion.Euler(). Let’s see this in practice by allowing the ‘Q’ and ‘E’ keys to rotate the camera 90 degrees left and right, respectively:
    void Update()
    {
        if (Input.GetKeyDown(KeyCode.W))
            this.transform.position += Vector3.forward;
        else if (Input.GetKeyDown(KeyCode.S))
            this.transform.position += Vector3.back;
        else if (Input.GetKeyDown(KeyCode.A))
            this.transform.position += Vector3.left;
        else if (Input.GetKeyDown(KeyCode.D))
            this.transform.position += Vector3.right;
        else if (Input.GetKeyDown(KeyCode.Q))
            this.transform.rotation *= Quaternion.Euler(0, -90, 0);
        else if (Input.GetKeyDown(KeyCode.E))
            this.transform.rotation *= Quaternion.Euler(0, 90, 0);
    }
The camera can now turn left and right:

However, this messes things up because the WASD keys still move with respect to the Z-axis, rather than in the direction that the camera is facing. We can easily fix this by multiplying the movement vectors by the camera’s rotation:
    void Update()
    {
        if (Input.GetKeyDown(KeyCode.W))
            this.transform.position += this.transform.rotation * Vector3.forward;
        else if (Input.GetKeyDown(KeyCode.S))
            this.transform.position += this.transform.rotation * Vector3.back;
        else if (Input.GetKeyDown(KeyCode.A))
            this.transform.position += this.transform.rotation * Vector3.left;
        else if (Input.GetKeyDown(KeyCode.D))
            this.transform.position += this.transform.rotation * Vector3.right;
        else if (Input.GetKeyDown(KeyCode.Q))
            this.transform.rotation *= Quaternion.Euler(0, -90, 0);
        else if (Input.GetKeyDown(KeyCode.E))
            this.transform.rotation *= Quaternion.Euler(0, 90, 0);
    }
And this works really nicely.

Watch the demo video on YouTube to see this in action!
Wrapping Up
As we’ve seen, Unity3D makes it really easy to set up this simple game mechanic where you have a first person view, move in steps, and turn in 90-degree angles. It does help to be comfortable with vectors. If you’re not, check out my “A Concise Introduction to Vectors” [PDF] at Swords and Software.
If you’d like a little extra exercise, try to make the movement and rotations as smooth transitions. You can use Vector3.MoveTowards() and Quaternion.RotateTowards() for this. You’ll also need to change your camera’s near clipping plane to zero to avoid weirdness during rotations.
Update 15th May 2023: see “Unity3D: Dungeon Crawler Movement with Collisions” for how to implement collision detection.
Hi, Im trying to make a simple dungeon crawler and your tutorials are great and all but how can I add collisions?
One way could be to try out colliders, but I think for this specific scenario the easiest way is to keep the map in memory (e.g. as a 2D array) and just check what’s in the square you’re moving into.