If you have any sort of interest in game development, you’ve probably heard of Unity3D. And if you’ve used it before, you probably know that it has for a long time been restricted to Windows and Mac in terms of development platforms. That changed recently, when they added support for Linux. In this article, I’ll show you how I set up Unity3D on my Kubuntu 20.04 installation, and if the distribution you’re using is close enough, the same steps will likely work for you as well.
First, go to the Unity3D Download page and grab the Unity Hub.
Update 14th May 2023: if you get an error saying the repository isn’t signed, check out this forum post for a solution.

After Unity Hub has finished downloading, run it. It’s a cross-platform AppImage, so you can either double-click it or run it from the terminal.

Register an account on the Unity3D website if you don’t have one already. Once Unity Hub loads, it immediately complains about not having a licence. If you click “Manage License”, it will ask you to login. You can click on the resulting “Login” link, or else click the top-right icon and then “Sign in”, to log into Unity3D from Unity Hub.

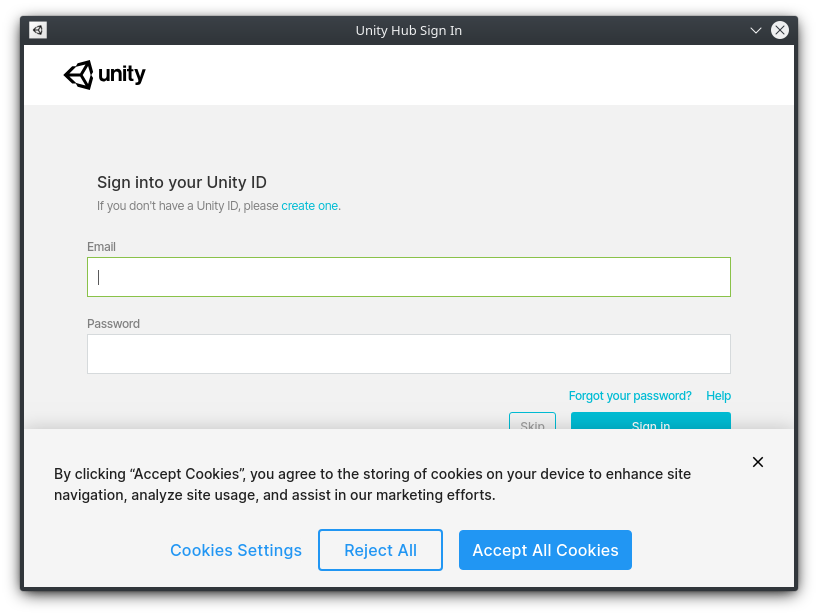
Click “Reject All” to opt out of cookies. Then, sign in using your email address and password. Alternatively, if you log into your account using a social identity provider, you’ll find different providers’ icons under the cookie banner.
Now you’re back in the Licence page of Unity Hub. Wait a few seconds for it to activate, then click the “Activate New License” button:

In the next window, select whichever options apply to you. If you’re just a hobbyist, Unity3D is free, so you can select the radio buttons as shown below. Click “Done” when you’re ready.

You now have a licence! Click the arrow at the top-left to go to the Projects section.

If you try to add a new project, you’ll realise that you need to install a version of the Unity3D editor first. Head over to the Installs section to do this.

In the Installs section, click the “Add” button:

Choose whichever version you prefer. The recommended LTS version is best if you need stability; otherwise you can use the latest and greatest version with the newest features.

Click “Next”, and you can now choose which platforms you want your builds to target and what documentation you want. If you’re just starting out, keep it simple and just leave the default “Linux Build Support” enabled. You can always add more stuff later if/when you need it.

Click “Done”, and wait for it to install…

When it’s done, head back to the Projects section. Click the “New” button to create a new project.
In the next window, select the type of project (3D by default), give it a name, and select a folder where your Unity3D projects will go (the new project will be created as a subfolder of this). Then click the “Create” button:

Wait for it…

And… that’s it! The editor then comes up, and you can begin creating your game.

If you need a quick place to start, check out my “Unity3D: Moving an Object with Keyboard Input” tutorial here at Gigi Labs, as well as my early Unity3D articles at Programmer’s Ranch.
One thought on “Getting Started with Unity3D on Linux”