Category Archives: Software

Analysing Binary Files using xxd

When you’re trying to make sense of a binary file format, a good hex viewer or hex editor is an invaluable tool. As shown in “Ultima 1 Reverse Engineering: Decoding Savegame Files“, a typical workflow involves viewing a hex dump of the binary data, making some small change, taking a second hex dump, and comparing the differences. If you’re lucky, you might even be able to observe patterns in the data directly.

Tandy 1000 graphics data for the space fighters in Ultima 1 can be easily observed in a hex editor such as Okteta.

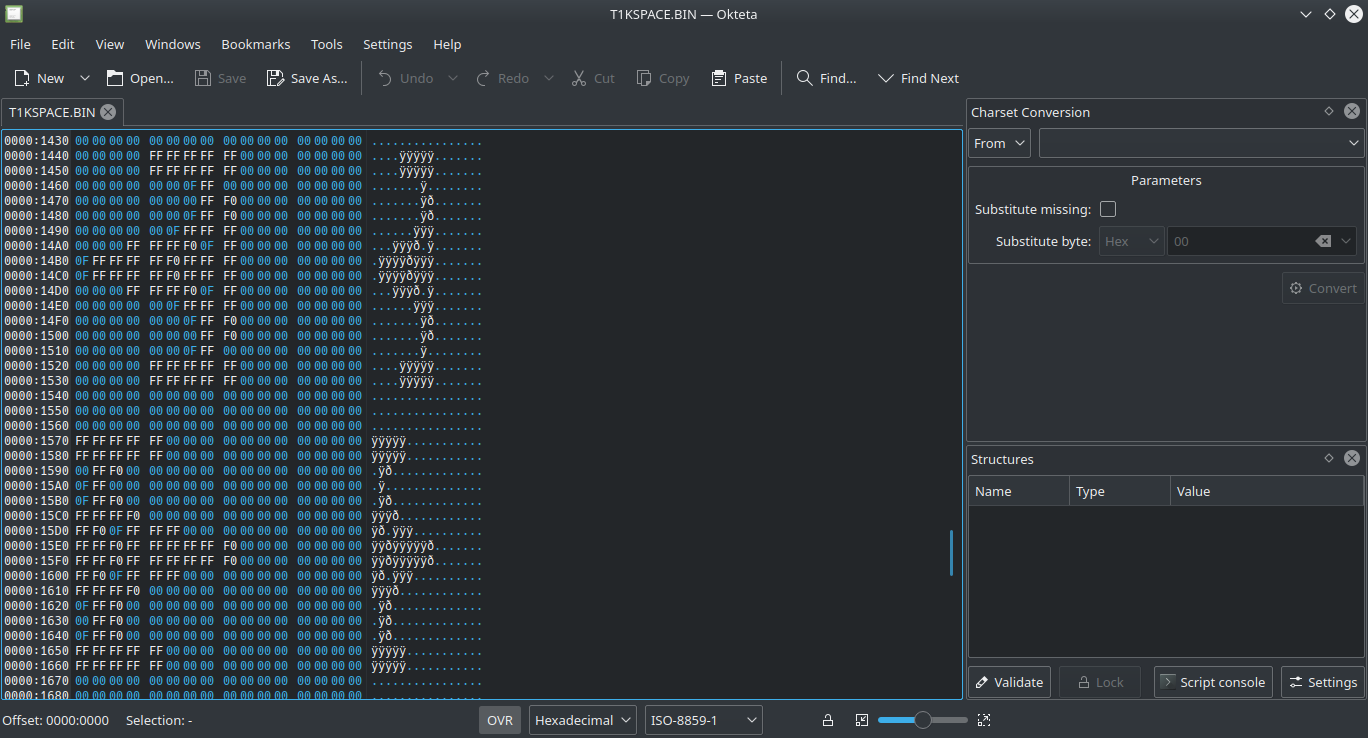
While a good visual hex editor (such as Okteta under Linux or xvi32 under Windows) is essential to view the binary data in hex and also make direct changes to the data files, a command-line hex viewer for Linux called xxd also exists. As with most things in a Linux environment, a lot of power comes from being able to combine command line tools in a way that produces the results we want. As we shall see, one of the benefits is that although most hex editors don’t have tools to compare hex dumps, we can leverage existing command-line diff tools for Linux.

Reverse Engineering the Ultima 1 Savegame File Format

We’ve already seen in “Ultima 1 Reverse Engineering: Decoding Savegame Files” how to analyse how the bytes in the Ulltima 1 savegame files change in response to actions in the game world. Let’s see how we could do this more easily using Linux command-line tools.

First, we start a new game, and take note of a few things such as the player’s position and statistics:

Ultima 1 when starting a new game.

We can use xxd take a hex dump of the savegame, which by default goes to standard output:

A hex dump of an Ultima 1 savegame file

By redirecting the output to a file (which we’re arbitrarily calling before.hex), we can save this for later comparison:

xxd PLAYER1.U1 > before.hex

Next, we move a couple of spaces to the right and save the game. Again, we take note of the situation in the game world (i.e. that we have moved to the right, and food has decreased by 1):

Ultima 1 after moving a couple of spaces to the right.

We can now take a new hex dump:

xxd PLAYER1.U1 > after.hex

Now that we have a record of the savegame before and after having moved, we can compare the two dumps using popular Linux diff tools such as diff or vimdiff:

vimdiff before.hex after.hex
Comparing hex dumps with vimdiff

In this case, simply moving two steps to the right has changed four different things in the savegame file: the player’s position, food, move count, and tile in the overworld map. It takes a bit more patience to reduce the number of variables at play and come to some conclusions about what the bytes actually represent, but you can hopefully appreciate how well these command-line tools play together.

Analysing The Savage Empire Dialogues

The Ultima 1 savegame is particularly easy to analyse and compare because it’s got a fixed size of 820 bytes, and each field in the game state has a fixed place within that file. Not all binary files provide this luxury.

For instance, the dialogues of The Savage Empire are LZW-compressed and are written using a proprietary scripting language. However, we can still use command-line tools to extract some interesting insights.

Using tools from the Nuvie project, you can extract each character’s dialogue into a separate binary file, numbered from 0 to 76 with some gaps. We can thus write a simple loop in bash syntax from 0 to 76 and invoke xxd on each file, using the parameters -l 16 to print out only the first 16 octets:

for i in $(seq -f "%03g" 0 76)
do
    echo -n "$i "; xxd -l 16 "path_to_dialogue_files/$i.dat"
done

The result is that we can identify an increasing NPC number as well as the NPC’s name and a part of their description within those first few bytes, indicating that although the structure of the data may be complex, there is still a deterministic pattern to it:

First few bytes of the first several NPC dialogues in The Savage Empire.

Conclusion

Whether analysing binary files using hex tools is your thing or not, I hope at this stage you can appreciate how much you can get out of combining a few simple command-line tools together.

Quick Mount in DOSBox under Linux

DOSBox is incredibly handy to run old games. In “DOSBox for Dummies“, I covered basic usage, as well as how to write a Windows batch file to automate some of the more repetitive operations (such as mounting). I also explained how to extend this to games requiring a CD in “Running Games Requiring a CD in DOSBox“.

If your games are all under the same folder, you might want to consider automatically mounting your DOS games folder using a dosbox.conf file. Otherwise, you can resort to scripting via batch files (Windows) or shell scripts (Linux).

For those one-off situations where you just want to try out a game quickly without setting anything up, regardless of where it resides on the filesystem, you can run the following (in Linux) from the folder where your game is:

dosbox -c "mount c $(pwd)" -c "C:"

This is the same method I used in previous articles to pass commands to DOSBox. The only difference is that here I’m taking advantage of command substitution in bash (as seen in “Scripting Backups with bash on Linux“) to pass in the current directory via the pwd command. That way, no matter where your game folder is on the filesystem, DOSBox will start in the right location. Then, all you’ll need to do is invoke the right executable.

Happy retro gaming!

Windows Server Sessions Consume Resources

If you work in a Windows environment, you have most likely had to log onto a Windows Server machine. Windows Server is used to host web applications (via IIS), manage a corporate network, and so much more.

Every time you log onto Windows Server, your profile is actually using a portion of the resources (e.g. CPU, RAM, disk and network utilisation) on that machine. It should not sound like a surprise that while some resources are used just to keep you logged on, the more processes you are running, the more resources you are using. So keeping things like Firefox or SQL Server Management Studio open can consume a significant portion of the server’s memory.

While it is understandable to log onto a server and utilise system resources for maintenance, troubleshooting or deployment purposes, many people do not realise that these resources are not released once they disconnect from the server. In fact, when you try to close a Remote Desktop Connection from the blue bar at the top, you get a warning that tells you this:

We can confirm this by opening the Users tab in the Task Manager, and see that logged in users who have disconnected are still using up a lot of memory (and other resources):

It is interesting to note that Sherry and Smith each have just Firefox open, with 3 or 4 tabs. You can imagine what the impact would be if there were more users each with more applications running.

In order to free up resources when you’re done working on the server, simply Sign Out instead of just disconnecting:

Once users have signed out, you’ll see that those disconnected sessions have disappeared from the Users tab in Task Manager, and their respective resources have been freed:

So there you go: this little tip can help you make the most of your server simply by not being wasteful of system resources.

Scripting Backups with bash on Linux

Over the years, Linux has gone from being something exclusively for the hardcore tech-savvy to something accessible to all. Modern GUIs provide a friendly means for anybody to interact with the operating system, without needing to use the terminal.

However, the terminal remains one of the areas where Linux shines, and is a great way for power users to automate routine tasks. Taking backups is one such mundane and repetitive activity which can very easily be scripted using shell scripts. In this article, we’ll see how to do this using the bash shell, which is found in the more popular distributions such as Ubuntu.

Simple Folder Backup with Timestamp

Picture this: we have a couple of documents in our Documents folder, and we’d like to back up the entire folder and append a timestamp in the name. The output filename would look something like:

Documents-2020.01.21-17.25.tar.gz

The .tar.gz format is a common way to compress a collection of files on Linux. gzip (the .gz part) is a powerful compression algorithm, but it can only compress a single file, and not an entire folder. Therefore, a folder is typically packaged into a single .tar file (historically standing for “tape archive”). This tarball, as it’s sometimes called, is then compressed using gzip to produce the resulting .tar.gz file.

The timestamp format above is something arbitrary, but I’ve been using this myself for many years and it has a number of advantages:

  1. It loosely follows the ISO 8601 format, starting with the year, and thus avoiding confusion between British (DD/MM) and American (MM/DD) date notation.
  2. For the same reason, it allows easy time-based sorting of backup files within a directory.
  3. The use of dots and dashes comes in handy when the filename is too long and is wrapped onto multiple lines. Related parts (e.g. the year, month and day of the date) stick together, but separate parts (e.g. the date and time) can be broken onto separate lines. Also, this takes up less (screen) space than other methods (e.g. using underscores).

To generate such a timestamp, we can use the Linux date command:

$ date
Tue 21 Jan 2020 05:35:34 PM UTC

That gives us the date, but it’s not in the format we want. For that, we need to give it a parameter with the format string:

$ date +"%Y.%m.%d-%H.%M.%S"
2020.01.21-17.37.14

Much better! We’ll use this shortly.

Let’s create a backups folder in the home directory as a destination folder for our backups:

$ mkdir ~/backups

We can then use the tar command to bundle our Documents folder into a single file (-c is to create, and -f is for file archive):

$ tar -cf ~/backups/Documents.tar ~/Documents

This works well as long as you run it from the home directory. But if you run it from somewhere else, you will see an unexpected structure within the resulting .tar file:

Instead of putting the Documents folder at the top level of the .tar file, it seems to have replicated the folder structure leading up to it from the root folder. We can get around this problem by using the -C switch and specifying that it should run from the home folder:

$ tar -C ~ -cf ~/backups/Documents.tar Documents

This solves the problem, as you can see:

Now that we’ve packaged the Documents folder into a .tar file, let’s compress it. We could do this using the gzip command, but as it turns out, the tar command itself has a -z switch that produces a gzipped tarball. After adding that and a -v (verbose) switch, and changing the extension, we end up with:

$ tar -C ~ -zcvf ~/backups/Documents.tar.gz Documents
Documents/
Documents/some-document.odt
Documents/tasks.txt

All we have left is to add a timestamp to the filename, so that we can distinguish between different backup files and easily identify when those backups were taken.

We have already seen how we can produce a timestamp separately using the date command. Fortunately, bash supports something called command substitution, which allows you to embed the output of a command (in this case date) in another command (in this case tar). It’s done by enclosing the first command between $( and ):

$ tar -C ~ -zcvf ~/backups/Documents-$(date +"%Y.%m.%d-%H.%M.%S").tar.gz Documents

As you can see, this produces the intended effect:

Adding the Hostname

If you have multiple computers, you might want to back up the same folder (e.g. Desktop) on all of them, but still be able to distinguish between them. For this we can again use command substitution to insert the hostname in the output filename. This can be done either with the hostname command or using uname -n:

$ tar -C ~ -zcvf ~/backups/Desktop-$(uname -n)-$(date +"%Y.%m.%d-%H.%M.%S").tar.gz Desktop

Creating Shell Scripts

Although the backup commands we have seen are one-liners, chances are that you don’t want to type them in again every time you want to take a backup. For this, you can create a file with a .sh extension (e.g. backup-desktop.sh) and put the command in there.

However, if you try to run it (always preceded by a ./), it doesn’t actually work:

The directory listing in the above screenshot shows why this is happening. The script is missing execution permissions, which we can add using the chmod command:

$ chmod 755 backup-desktop.sh

In short, that 755 value is a representation of permissions on a file which grants execution rights to everybody (see Chmod Calculator or run man chmod for more information on how this works).

A directory listing now shows that the file has execution (x) permissions, and the terminal actually highlights the file in bold green to show that it is executable:

Running Multiple Scripts

As we start to back up more folders, we gradually end up with more of these tar commands. While we could put them one after another in the same file, this would mean that we always backup everything, and we thus lose the flexibility to back up individual folders independently (handy when the folders are large and backups take a while).

For this, it’s useful to keep separate scripts for each folder, but then have one script to run them all (see what I did there?).

There are many ways to run multiple commands in a bash script, including simply putting them on separate lines one after another, or using one of several operators designed to allow multiple commands to be run on the same line.

While the choice of which to use is mostly arbitrary, there are subtle differences in how they work. I tend to favour the && operator because it will not carry out further commands if one has failed, reducing the risk that a failure goes unnoticed:

$ ./backup-desktop.sh && ./backup-documents.sh

Putting this in a file called backup-all.sh and executing it has the effect of backing up both the Desktop and the Documents folders. If I only want to backup one of them, I can still do that using the corresponding shell script.

Conclusion

We have thus far seen how to:

  • Package a folder in a compressed file
  • Include a timestamp in the filename
  • Include the hostname in the filename
  • Create bash scripts for these commands
  • Combine multiple shell scripts into a single one

This helps greatly in automating the execution of backups, but you can always take it further. Here are some ideas:

  • Use cron to take periodic backups (e.g. daily or weekly)
  • Transfer the backup files off your computer – this really depends what you are comfortable with, as it could be an external hard drive, or another Linux machine (e.g. using scp), or a cloud service like AWS S3.

How to Communicate with Windows Machines from Linux

Transitioning from Windows to Linux is a pleasant experience, but not one for the faint-hearted. There are a lot of things that can take a while to learn: the different filesystem structure, new applications, and the terminal.

If you’ve been stuck with Windows for a long time, chances are that you are not going to switch to Linux entirely in one day and forget about Windows. You probably still want to access resources on that Windows machine, and that, for me, was one of the biggest hassles. Not because it is difficult, but because there are several steps along the way (on both the Windows and Linux sides), and it is really easy to miss one.

The commands in this article have been executed on Kubuntu, and are likely to work on any similar Debian-based distribution.

Ping

Let’s say you’re running an SVN server on your Windows machine, and you’d like to communicate with it from Linux. In order to find that Windows machine, you could try looking up its IP. However, home networks typically use DHCP, which means that a machine’s IP tends to change over time. So while using the IP could work right now, you will likely have to update your configuration again tomorrow.

You could allocate a static IP for this, but a much easier option is to simply look up the name of the machine instead of the IP. You can find out the machine’s name using the hostname command, which works on both Windows and Linux. Once we know the name of the Windows machine, we can try pinging it from Linux to see whether we can reach it:

daniel@orion:~$ ping windowspc
ping: windowspc: No address associated with hostname

That does not look very promising. Unfortunately, Linux machines can’t resolve Windows DNS out of the box. In order to get this working, we first need to install a couple of packages:

daniel@orion:~$ sudo apt install winbind libnss-winbind

After that, we need to edit the /etc/nsswitch.conf file, which on a fresh Kubuntu installation would look something like this:

# /etc/nsswitch.conf
#
# Example configuration of GNU Name Service Switch functionality.
# If you have the `glibc-doc-reference' and `info' packages installed, try:
# `info libc "Name Service Switch"' for information about this file.

passwd:         files systemd
group:          files systemd
shadow:         files
gshadow:        files

hosts:          files mdns4_minimal [NOTFOUND=return] dns
networks:       files

protocols:      db files
services:       db files
ethers:         db files
rpc:            db files

netgroup:       nis

Use whichever editor you prefer, to update the highlighted line above to this:

hosts:          files mdns4_minimal [NOTFOUND=return] dns wins mdns4

If you try pinging again, it should now work. No restart is necessary.

daniel@orion:~$ ping windowspc
PING windowspc (192.168.1.73) 56(84) bytes of data.
64 bytes from 192.168.1.73 (192.168.1.73): icmp_seq=1 ttl=128 time=614 ms
64 bytes from 192.168.1.73 (192.168.1.73): icmp_seq=2 ttl=128 time=519 ms
64 bytes from 192.168.1.73 (192.168.1.73): icmp_seq=3 ttl=128 time=441 ms
64 bytes from 192.168.1.73 (192.168.1.73): icmp_seq=4 ttl=128 time=55.2 ms
64 bytes from 192.168.1.73 (192.168.1.73): icmp_seq=5 ttl=128 time=2.67 ms
64 bytes from 192.168.1.73 (192.168.1.73): icmp_seq=6 ttl=128 time=510 ms
64 bytes from 192.168.1.73 (192.168.1.73): icmp_seq=7 ttl=128 time=430 ms
64 bytes from 192.168.1.73 (192.168.1.73): icmp_seq=8 ttl=128 time=48.9 ms
^C
--- windowspc ping statistics ---
9 packets transmitted, 8 received, 11.1111% packet loss, time 12630ms
rtt min/avg/max/mdev = 2.671/327.520/613.590/232.503 ms

Resolving the hostname can sometimes take time. If you’re using a client application that can’t seem to resolve the Windows machine name, give it a few seconds, or try pinging it again. It should work after that.

Update 5th December 2019: If this doesn’t work, there are a couple of things I’ve seen recommended. One is to move the wins entry in /etc/nsswitch.conf to right after the files entry. Another is to try restarting the winbind service and see whether it makes a difference: sudo systemctl restart winbind.

Windows File Share

Another important aspect to interoperability between Windows and Linux is how to pass files between them. Fortunately, Linux comes with software called Samba that allows it to see and work with Windows file shares.

Before we do this, we need to create a shared folder on Windows. To do this, create a new folder (e.g. named share) on your Windows machine, then right click on it and select Properties. In the Sharing tab, there’s a button that says Advanced Sharing:

Click on it, and in the next modal window, check the box that says Share this folder. You can then OK all the way out without making further changes.

Through Kubuntu’s file manager application, called Dolphin, you can navigate to any Windows file shares visible on the network, even if you haven’t done the setup in the previous section.

To do this, select Network from the left, then double-click Shared Folders (SMB):

Next, select Workgroup:

You should now be able to see any Windows or Linux machines. Select the icon with the name of your Windows machine.

You should be prompted for credentials, and at that stage enter the same username and password that you use to login on Windows.

We can now see the shared folders on the Windows machine, including the shared folder we created earlier:

If, on the Windows side, we drop a file into that share folder, we can see it from Linux, and we are perfectly able to copy it over:

Unfortunately however, the same is not yet true in reverse. If we try to copy a file from the Linux machine into share, we get a lousy Access denied error:

It seems to be a permissions issue, so let’s go back on Windows and see what we might have missed. If we right click the folder and select Properties, we notice that the folder appears to be read-only:

This in fact has nothing to do with the problem, and attempting to change it has no effect.

Instead, what we need to do is go back to that Advanced Sharing modal window (via the Advanced Sharing button in the Properties’ Sharing tab). Click the Permissions button to see who has access to that folder. It seems like Everyone is listed but only has Read access. Please resist the temptation or other internet advice to give full access to Everyone, and instead look up the user you normally use to log into Windows:

You can then give your user full control:

You can now drop a file into the share folder from Linux without any problems:

Summary

Talking to a Windows machine from Linux is possible, but slightly tricky to set up.

In order for client applications on Linux to talk to server applications on Windows, install the winbind and libnss-winbind packages, and edit /etc/nsswitch.conf to enable DNS resolution for Windows machines. Use ping to verify that the hostname is beig resolved.

To share files between Windows and Linux, set up a shared folder on Windows. Add your Windows user to the list of people who can access the folder, giving it both read and write permissions. Then, from Linux, use the file manager application’s existing Samba integration to reach and work with the shared folder.